Recap
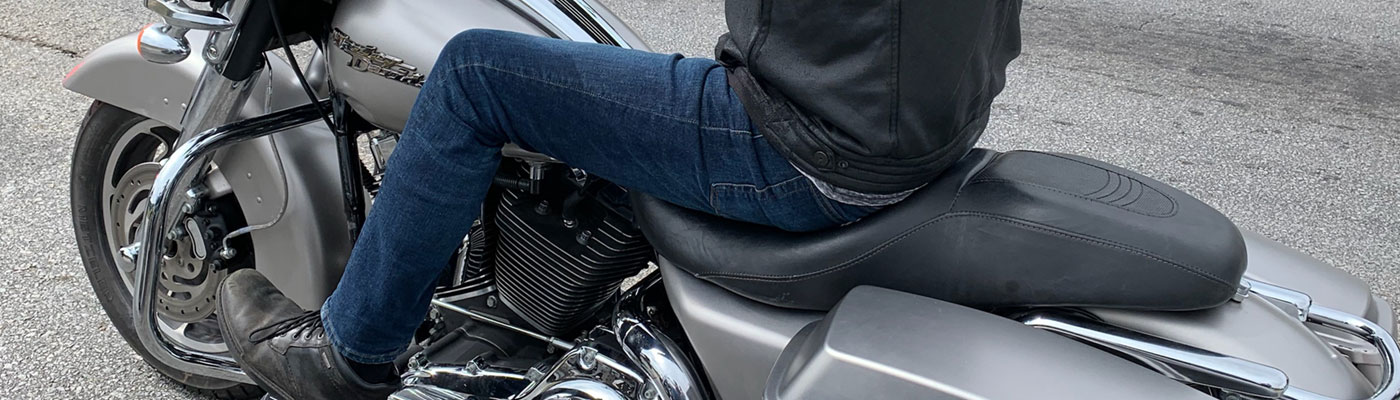
So to recap, I bought my first Harley a little over a year ago. Although I’ve been riding motorcycles since the late 90s I’ve always owned metric bikes. But the deal I got on this 2007th Street glide was too good to pass up. It needed a lot of love and care to get it back in shape and ready for the road and I am recapping a few of those steps in this blog.
 The Motorcycle Engine
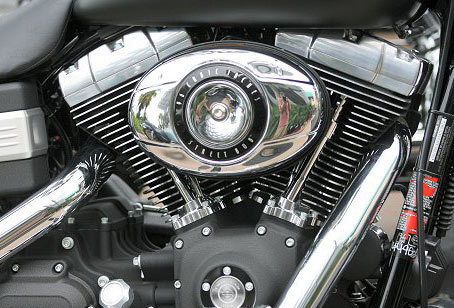
First of all as I mentioned before the mechanical pieces on the bike were all in very good shape so that was a great place to start. For 2007 it had low mileage, only 13,000 miles. The bike runs strong. However I have course wanted to fully inspect the bike and replace all of the bikes major fluids.
Right out of the gate I had a Harley certified mechanic inspect the bike from top to bottom. No major issues were found other than a leaky seal within the primary case that was slowly sipping some primary fluid onto the engine. Apparently this is a very commonplace issue with Harley Davidson‘s and not a big deal to fix. So after getting that good news about the mechanical quality of the motorcycle I performed some routine maintenance.
 The Bike’s Three Holes
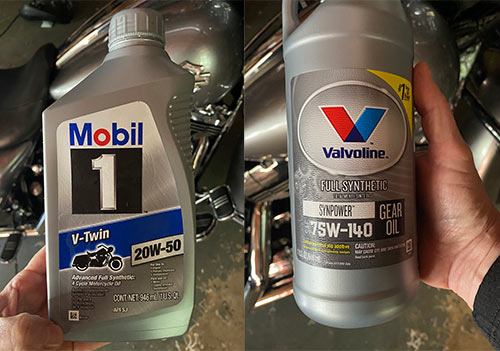
First up was changing the fluids and all three holes: the transmission, the oil, and the primary fluid. For the transmission I decided to use Valvoline for synthetic send power 75W Dash 140 gear oil. It had good reviews and was recommended for this bike. For the oil I had a number of options to choose from but I ended up going with Mobile-1, 20W-50 synthetic. Honestly I probably would’ve liked to of gone with Amsoil but price of Mobile-1 made it a very attractive option as well as the fact it was available at my local Walmart. For the primary fluid I went with Harley Davidson‘s branded primary oil. I know a lot of people choose to simply use their synthetic oil in the primary as well but with this being my first Harley I didn’t want to take any chances so I used the recommended fluid by the manufacturer.
Now that all of the boring stuff was complete I had some decisions to make as to what I wanted to fix first. It came down to a question of what are the most important elements to me in the writing experience. One of the reasons I purchased a bagger is because I value comfort. That being the case I decided to Address all of the items that directly affect the comfort and overall quality of my ride.
 The Motorcycle’s Sound System
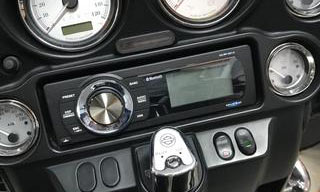
I love a good stereo and I love music. Whether it’s a long ride or just a quick shot around town or a short night ride nothing makes me happier than having some great tunes playing on a great stereo. So the first thing that had to go was the stock Harley radio and the stock speakers. The radio head units itself seem to be decent quality but it was an older unit and did not have Bluetooth capability so that had to be replaced. The stock speakers were a whole other issue. I found them to be very lacking in power and they distorted at high volume. To replace the head unit I decided to go with the aquatic AV Bluetooth stereo. The price of $350 was a little steep but it had great reviews and I was attracted to the fact that it is supposed to perfectly fit as a replacement for the stock Harley Davidson radio. The placement of the head unit and hooking up the wires and cords is basically plug and play. This was the case as installation of the head unit was quick and easy and only took about 20 minutes.
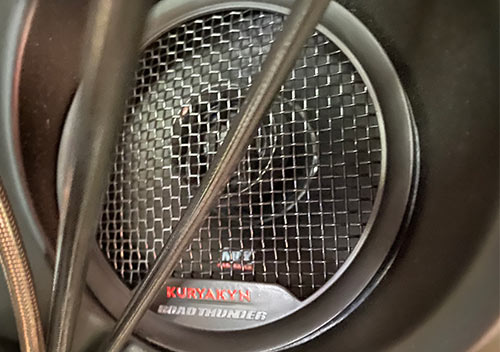 Upgrading the speakers was a little bit more involved especially since I wanted to add another set of speakers to be placed in my saddlebag lids. My number one goal was to have good clear sound and I volume but I was also hoping to achieve that on a tight budget. Price wasn’t an issue there were a myriad of choices that I could go with but I had to be choosy so I researched speakers and amplifiers and finally decided to go with the Kuryakyn road thunder 6 inch speakers and amplifier set for the front faring. I personally have always been happy with products from them and I discovered that this system was being closed out on JP cycles website for a very affordable price. I often purchase items from JP cycles, everything from motorcycle parts to motorcycle t-shirts so I trust them and I know that they stand behind their products.
For the speakers in the saddlebags I went with a pair of JBL 6 x 9‘s that were on close out at the local Best Buy. They were some of JBL‘s top-of-the-line speakers and the price I got the stuff to beat. To power them I purchased a 300 Watt compact amplifier off of Amazon. It was another closeout item and it also had great reviews. Because it is a compact amplifier it fit well in my saddlebags. It was also meant for marine use so that gave me a little peace of mind as well.
Giving the Motorcycle Some Audio Power
Definitely the most difficult part of installing the speakers in the amplifiers on my motorcycle was removing the seat and finding enough space to correctly run both the speaker wires and the power wires so that they did not get cramped or tweaked and were not visible anywhere on the motorcycle. The biggest issue that made it so difficult is that The Harley just did not provide a lot of space to achieve this. But after taking my time working through the process I finally achieved a result that I was happy with.
I wanted to make sure that the power amp would not rattle around in my motorcycles saddle bag so I created a quick and easy mounting box for the amplifier. I made it out of some half inch board that I had lying around and I painted it black. I then lined the outside of the box with some Heavy egg crate style foam to cut down on the amount of vibration. It wasn’t the most elegant of solutions but it is proven to be very effective.
I purchased some inexpensive saddlebag lids off of eBay that have speaker grills and a mounting area for the 6 x 9 speakers. The overall quality of the saddlebag lids was solid, not exactly spectacular, but good enough. I wasn’t too concerned with the color or finish of the saddlebag lids because I knew I was going to repaint the entire motorcycle with the custom color of my choice. The only part of the Saddlebag lids that I was not impressed with Are the internal straps that hold the lid in place when it is open. The stock Harley Davidson straps are definitely a higher quality then the ones that came with my aftermarket saddlebag lids, but once again, they were good enough to get the job done.
Moving Forward
And that would pretty much complete step one. My motorcycles sound system was now in place and even though my bike still had a lot of things that I needed to work on at least I could enjoy riding down the road listening to good tunes at high-volume and quality sound.